Meet the "Real" Betty

Meet the "Real" Betty
Betty through the ages

Tuesday, March 31, 2015

Pat-A-Cake Sausage Bake


I have been having a lot of fun lately, making recipes which were printed in Better Homes & Gardens magazine in the 1950s and 1960s.  While some of them sound like very odd combinations, on the whole, they have actually been surprisingly good.  Before the weather gets too much warmer and I want to focus on lighter fare, I wanted to get in one last stick-to-your-ribs recipe.  Flipping through my collection, I found just the ticket – Pat-A-Cake Sausage Bake, which was printed in the August 1957 edition.

Over the years, I have learned that sometimes the most delicious dish is the sum of odd ingredient pairings.  Pat-A-Cake Sausage Bake is one of those dishes that solidly falls into that category.  With ingredients like sausage, cream of chicken soup green peppers and bleu cheese, I was prepared to pop a frozen pizza in the oven if the combination did not turn out well.  In the end, I did not need to worry.  In fact, it was so well received for dinner last night that my husband was happy to take leftovers for lunch today.  (Not to mention that we will both happily be eating leftovers for dinner tomorrow.)

Feeling bold about the green pepper after my success with Home Front Macaroni last week, I decided to use an entire diced green pepper instead of the instructed 2-tablespoons.  This more than made up for my omission of 2-tablespoons of pimentos (which seem to have been all the rage in the 1950s since they are called for in at least half of all recipes written during that era).  Additionally, I was in a bit of a rush when I was putting my Pat-A-Cake Sausage Bake together and I forgot to top it with buttered bread crumbs.  Honestly, we did not miss it since I served it with a side of leftover Spinach Provençale (also from last week) and that was topped with buttered bread crumbs. 

The directions for Pat-A-Cake Sausage Bake said to make the sausage into “marbles” then flatten them into tiny patties before browning.  I am sure that this would have been pretty but I am a little on the lazy side and I did not want to waste the time doing this with an entire pound of sausage.  Instead, I just tossed the sausage into the frying pan and chopped it up with a wooden spatula as it cooked.  This saved me quite a bit of time and enabled me to spend that extra few minutes with my sweetheart. 

Some sort of magic seemed to occur as I mixed together the ingredients for Pat-A-Cake Sausage Bake.  The result was a creamy, savory dinner with just the smallest nip from all of the green pepper.  It was so good, I can easily see myself making this again on a cold winter day.


Pat-A-Cake Sausage Bake
Serves 6

Ingredients
·        1 pound ground pork sausage (I used maple pork sausage because it was on sale)
·        4 ounces dried noodles
·        2 tablespoons chopped green pepper
·        2 tablespoons chopped pimento
·        1 10-ounce can cream of chicken soup
·        2 ounces crumbled bleu cheese
·        1/3 cup buttered bread crumbs

Directions
1.   Preheat oven to 350° F.
2.   Brown sausage in frying pan.  (I tossed the green pepper in with the sausage as it cooked but this isn’t necessary.)
3.   While the sausage is browning, cook 4 ounces of noodles according to package directions then drain.
4.   Grease a 1 ½ quart casserole dish.
5.   Combine sausage, green pepper (if you have not already done so), pimento, cream of chicken soup, and bleu cheese.  Stir until bleu cheese melts.
6.   Add pasta and carefully stir until all ingredients are combined then evenly spread mixture into casserole dish.
7.   Top with buttered bread crumbs.
8.   Bake at 350° F for 30 minutes or until bread crumbs are golden brown.


Would you make a recipe if the ingredients did not sound like a good combination to you?  Comment below and let me know!


It's All Greek to Me


 Sometime around St. Patrick’s Day, I started thinking about how weird it is that we celebrate the feast day of the patron saint of another country as widely as we do in the US.  In fact, I challenge anyone to think of another such holiday that is celebrated so widely in the US.  I could not think of any so I decided that I wanted to expand my knowledge of cultures and food from around the world by celebrating different holidays.

On March 25, we celebrated Greek Independence Day – the day commemorating the start of the War of Independence in 1821 which ultimately liberated the Greeks from the Ottoman Empire.  With a little digging, I learned that one food traditionally consumed on Greek Independence day is cod in Skordalia (garlic sauce).  Lucky me, I just happened to have two pieces of cod in my freezer and everything called for in the Skordalia recipe.  Could I be any luckier?

Before I say anything else, I have to say that my husband loved this sauce – LOVED IT!  I think if I had let him, he would have been willing to bathe in it, he liked it so much.  If I choose to make it again, I am sure he would happily eat it.

Skordalia is one of those magic sauces that is really easy to make and the ingredient list is not a mile long.  That is always a bonus in my book.  In order to like this sauce, though, you have to like garlic – a lot.  It calls for EIGHT cloves of garlic so it probably is not one to make if you happen to be a vampire or are making dinner for a vampire.  It was excellent on the cod and I could easily see using it on pita chips or as a dip for vegetables.  The flavor was tangy with a nice bite and I would have liked to try more of it had I not been allergic to the lemon in it. 

I know.  Odd that I would choose to make a recipe when I am allergic to one of the ingredients.  I knew that a little bit would not hurt me and I really wanted to give it a try.  Though, I generally do not recommend that people cook with ingredients to which they are allergic.


Skordalia (Greek Garlic Sauce)
Makes About 1 Cup

Ingredients
·        2 russet potatoes, peeled and diced into 1-inch cubes
·        8 cloves of garlic, minced
·        Juice of 1 lemon
·        ¼ teaspoon of salt
·        ¾ cup olive oil
·        Additional salt to taste

Directions
1.    Place cleaned and diced potatoes in a pot with enough water to just cover them and boil until fork tender.
2.   Drain potatoes and allow to cool.
3.   Add garlic, lemon juice and ¼ teaspoon of salt to potatoes and mash by hand.
4.   Once potatoes have been mashed, either using a food processor of hand held immersion blender (you could probably make do with a regular hand blender), slowly drizzle in the olive oil in a steady stream until it is smooth and well blended.  You can add up to ¼ cup more olive oil using the same method for a creamier sauce.
5.   Season to taste with additional salt.

6.   Serve immediately, refrigerate any extra.

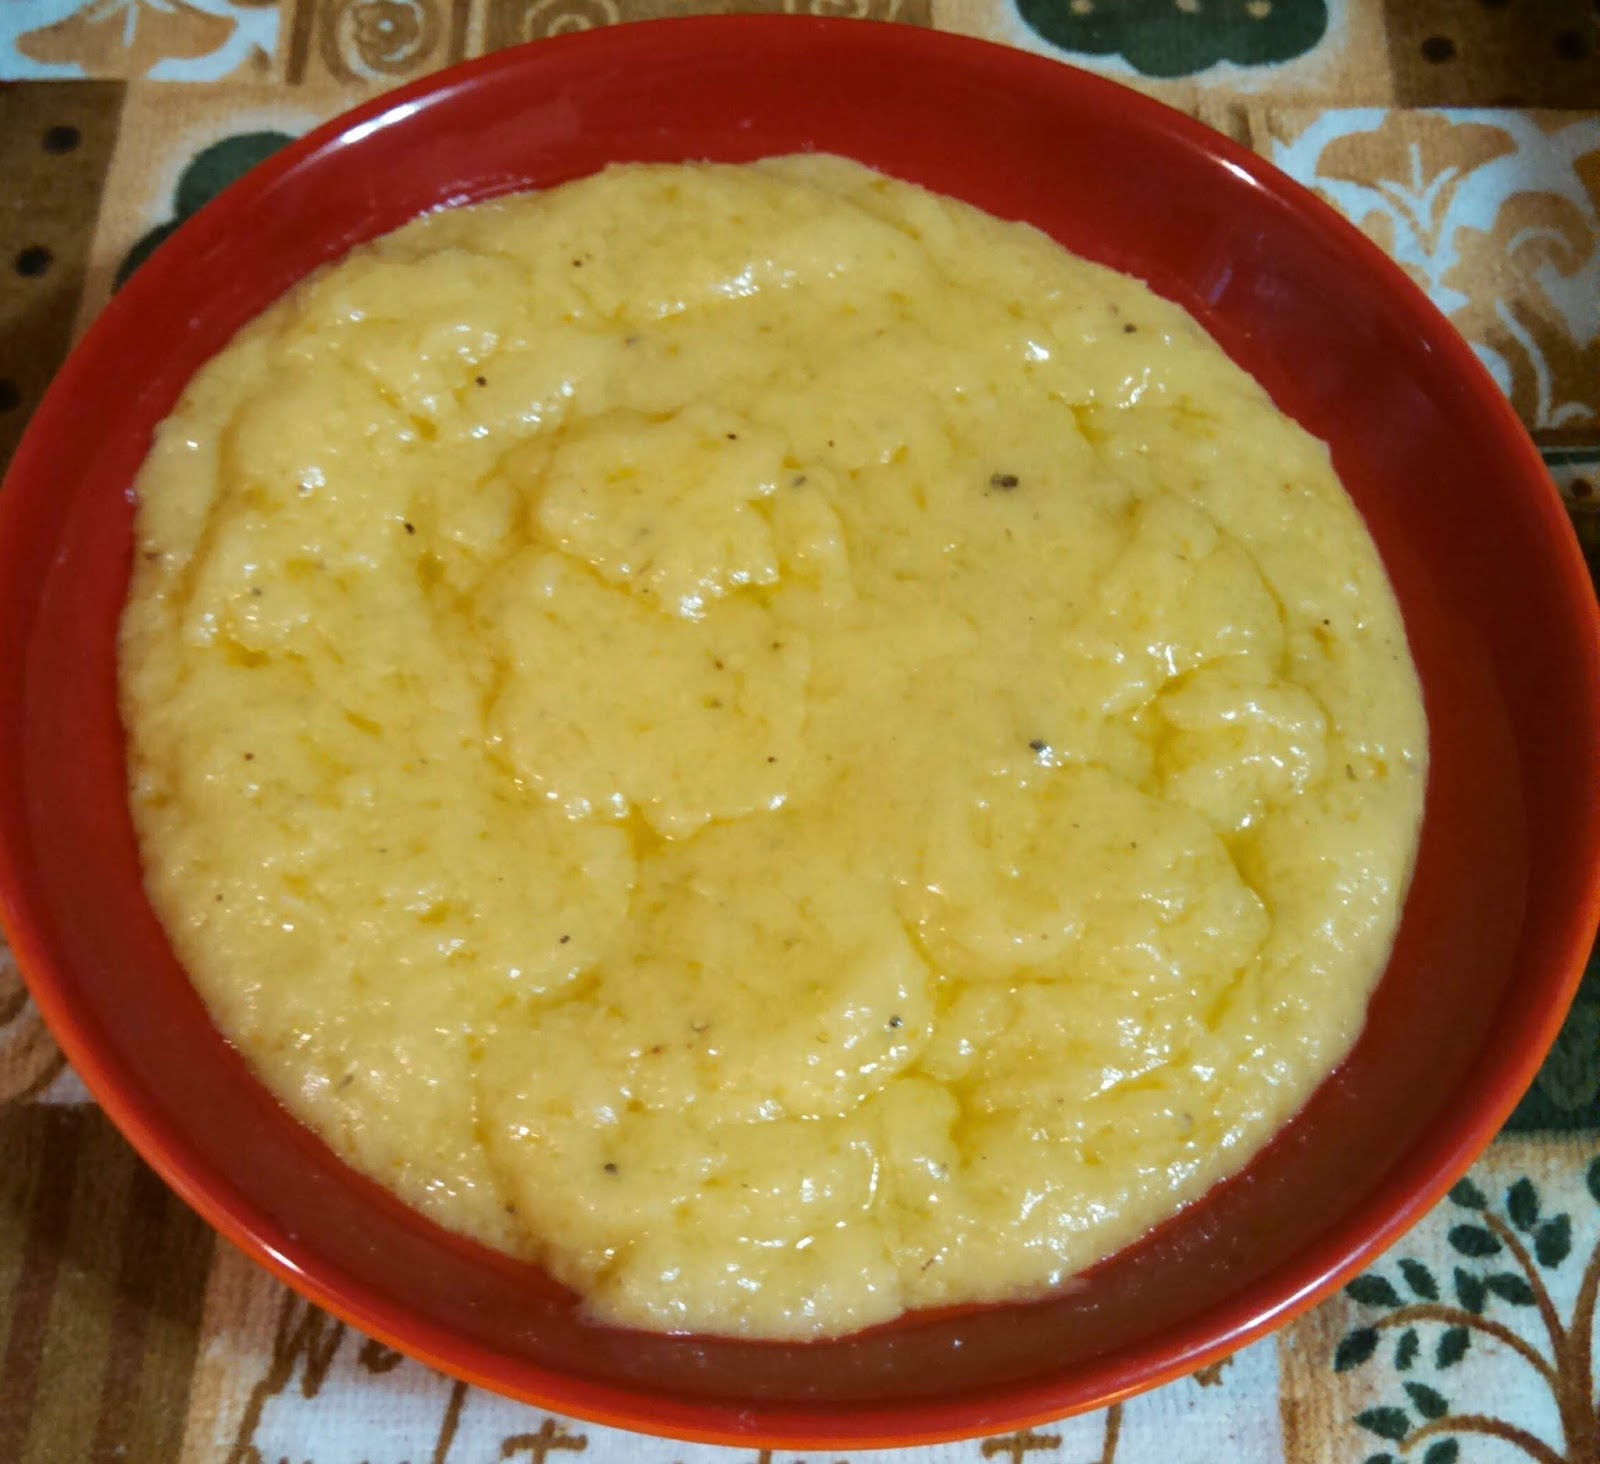
Mine separated a little as it sat.

What holidays from around the world do you celebrate?  Comment below and let me know!


Wednesday, March 25, 2015

Spinach Provençale

I have to admit that there are plenty of vegetables that I like much more than spinach.  In fact, given the choice, I would eat almost any other vegetable before eating spinach.  I spent my entire childhood avoiding it as best I could.  If I dislike it so much, why do I cook spinach at all? 

Fate plays funny tricks on you when you are not looking.  My husband, who normally will not touch vegetables with a ten foot pole, loves spinach.  It is the one vegetable that he will eat no matter how it is prepared.  I love him to the moon and back so, for that reason, I make spinach quite often.

While flipping through my 1956 edition of the Betty Crocker Picture Cookbook, I decided to see what spinach recipes I might find.  Right there, staring me in the face, was the recipe for Spinach Provençale.  It is quick and simple and an excellent side for Chicken Breasts Baked in Cream.  As much as I prefer other vegetables, I found that the onion and garlic complemented and toned down the strong flavor of the spinach. 

The recipe for Spinach Provençale says that it only makes four servings which was incredible to me since it calls for 2-pounds of spinach.  The servings would be massive!  As a main dish, four servings may work but I found that, as a side, I could easily get six to eight servings out of it.

The recipe instructed me to top my spinach mixture with buttered bread crumbs or cracker crumbs.  I had a bit of Irish butter left over from St. Patrick’s Day last week so I decided to melt 1-tablespoon of that and mix it with 1-cup of panko bread crumbs (any dried bread crumbs would work).  The resulting mixture raised the Spinach Provençale to a level where I would quite enjoy eating it on a regular basis.


Spinach Provençale
Serves 4 as a main dish or 6 – 8 as a side

Ingredients
·        ¼ cup olive oil, salad oil or butter
·        2 pounds fresh spinach
·        1 tsp salt
·        ¼ tsp pepper
·        ½ cup chopped onion
·        1 clove garlic, minced
·        2 eggs, slightly beaten
·        1 tbsp butter + 1 cup bread crumbs OR 1 cup cracker crumbs
·        Grated Parmesan cheese (optional)

Directions
1.   Preheat oven to 350°F.
2.   In a large pan, heat oil and add spinach, salt, pepper, onion and garlic.  Cover and cook until spinach wilts and sinks down into the pan.
3.   Remove cover and cook quickly until juices evaporate.
4.   Remove from heat and stir in 2 slightly beaten eggs.
5.   Pour mixture into a 1 quart baking dish.
6.   Top with buttered bread crumbs, cracker crumbs and/or grated Parmesan cheese.
7.   Bake at 350°F for 15 – 20 minutes or until spinach mixture is firm and topping is golden brown.
8.   Serve hot.

NOTES: 
·        I used a 12-inch sauté pan and all of the spinach would not fit in the pan at one time.  I added 2/3 of the spinach and the rest of the ingredients and waited for the spinach to cook down before adding the last 1/3 of the spinach.


·        Since I was serving my Spinach Provençale with Chicken Breasts Baked in Cream, I waited to raise the temperature to 350°F until I put the spinach into the oven.  I then baked it for 25 minutes and removed it from the oven at the same time as I removed the chicken.  The spinach was cooked perfectly as did the chicken, even though it was only supposed to be baked at 300°F.


If you disliked a food, would you be willing to eat it if it was your loved one's favorite food?  Comment below and let me know!


Tuesday, March 24, 2015

Winner, Winner, Chicken Dinner!

  
I had a bit of heavy cream left over from when I made the Salted Caramel Cream Sauce last week and I did not want it to go to waste.  Fortunately, I was able to find another recipe that called for the exact amount of cream that I had left:  Chicken Breasts Baked in Cream (1956 Betty Crocker Picture Cookbook).  I am not normally one who enjoys a lot of sauces on foods.  I would much rather taste the food itself.  That being said, I found Chicken Breasts Baked in Cream to be a wonderful surprise.

My local grocery store was out of organic, cage-free, hormone-free chicken breasts so I simply substituted a whole chicken which I cut up myself.  It was a bit of an ordeal as I managed to break one of the finger rings on my kitchen shears in the process.  For me, the loss of a pair of shears was worth it to have the organic, cage-free, hormone-free chicken over the standard, cheaper chicken available.

Making the chicken was quite easy, though it did require two hours to bake.  That gave me plenty of time to do the dishes and relax before whipping up a batch of Spinach Provençale to pop in the oven for the last 25 minutes of baking.  My husband, who absolutely loves anything involving a nice sauce or gravy, raved about the chicken and was happy to eat it again when I served leftovers for dinner the next night. 

The combination of the chicken drippings and the cream made a wonderful gravy and I found that I only had to season it a little bit when I added the flour.  It was creamy and velvety (not surprising, considering the ingredients) and it does not overpower the natural flavor of the chicken.  When dinner was done, I just put all of the leftover chicken and gravy into one bowl and tucked it away in the refrigerator to be warmed up another day.


Chicken Breasts Baked in Cream Sauce
Serves 6 – 8

Ingredients
·        1 – 2 tbsp butter or other cooking fat
·        3 lbs chicken breast
·        ½ cup chopped onion
·        1 clove garlic, minced
·        2 cups cream
·        2 tsp salt (I only used 1 teaspoon of sea salt)
·        1/8 tsp pepper
·        1 tbsp Worcestershire sauce
·        2 – 4 tbsp flour (depending on desired thickness of gravy)
·        ½ cup water (I omitted this as I felt the gravy did not need it)


Ready for the oven!

Directions
1.   Preheat oven to 300°F.
2.   Melt cooking fat in a skillet and brown chicken on both sides.
3.   Transfer to 9 x 13-inch baking dish.
4.   Evenly sprinkle chopped onion and minced garlic over and around chicken.
5.   Mix cream, salt, pepper and Worcestershire sauce in a small bowl then pour over chicken.
6.   Bake at 300°F for 2 hours or until chicken is cooked through.
7.   Remove from oven and remove chicken to a serving plate.
8.   Add 2 tablespoons of flour (and water) to cream still in pan and whisk thoroughly.  If you wish, you can add an additional 2 tablespoons of flour and whisk thoroughly.  Keep in mind that the gravy will thicken quite a bit as it cools.
9.   Serve chicken hot, topped with gravy.

Set chicken aside while you make the gravy.


Do you generally prefer your food plain or with sauce?  Comment below and let me know!

Gravy will thicken as it cools.

Monday, March 23, 2015

Lazy Saturday on the Home Front

Saturday was one of those days where I unintentionally fell asleep and took a nice long nap.  By the time I woke, my husband was ready for some dinner.  He offered to run out and pick something up and I admit that as I stretched and shook off my nap, it sounded like a pretty good idea.  I even agreed to it.  I was not happy with myself for agreeing to it but the thought of being lazy sounded pretty good right about then. 

About ten minutes later, I changed my mind.  I found myself fully awake with sufficient energy to step into the kitchen and I knew exactly the recipe I was going to cook:  Home Front Macaroni.  I knew it had to be good because in the early days of my parents’ marriage, my mother wrote a note in her 1956 Betty Crocker Picture Cookbook that said, “Good!  Kent Likes!!”  If it was something that my dad liked, that is enough endorsement for me.

Last week, when I was making up my menu and shopping list for this week, I very nearly left off the green pepper called for in Home Front Macaroni.  I have never been a big fan of green peppers so when a recipe calls for it, I generally just skip it.  I do not know if it was the fact that I was already omitting the celery (it’s evil – don’t argue with me) from the recipe or if I had been possessed by Our Lady of Puzza, the patron saint of odoriferous green vegetables, but something made me pick up a green pepper to include in the recipe. 

Home Front Macaroni was incredibly easy to make.  I forgot to buy macaroni so I just used the appropriate amount of what I had on hand – a mixture of rigatoni and angel hair pasta.  Instead of using canned tomatoes, I used about a pound of chopped, fresh, organic tomatoes.  I minced the green pepper as directed and added two minced cloves of garlic (because everything in the world can be made better with garlic).  The entire mixture of meat and vegetables simmered for 45 minutes, giving it plenty of time for the flavors to develop and combine.  When it was done, it was TO DIE FOR!  My husband and I had generous portions and we had plenty left over for lunches through the week.


Home Front Macaroni
Makes 6 – 8 servings

Ingredients
·           1 tbsp butter or other cooking fat
·           1 large onion, diced
·           ½ lb ground beef or pork sausage (I used organic, grass-fed beef)
·           2 ½ cups cooked tomatoes (no. 2 can – this is equal to a 20-oz can today)
·           1 cup diced celery
·           ¾ cup minced green pepper
·           1 tsp Worcestershire sauce
·           2 tsp salt (I only used one teaspoon of sea salt)
·           ½ tsp pepper
·           8-oz macaroni (dry weight) cooked

Directions
1.     Sauté onion in cooking fat until it just starts to turn translucent.
2.     Add ground beef and cook until browned.
3.     Add tomatoes, celery, green pepper, Worcestershire sauce, salt and pepper and simmer for 45 minutes, stirring occasionally.
4.     Cook 8-ounces of macaroni according to package instructions.
5.     Once macaroni is cooked and drained, add to beef mixture and stir to combine.
6.     Serve warm.


Comment below with the foods that are on your “do not eat” list!